
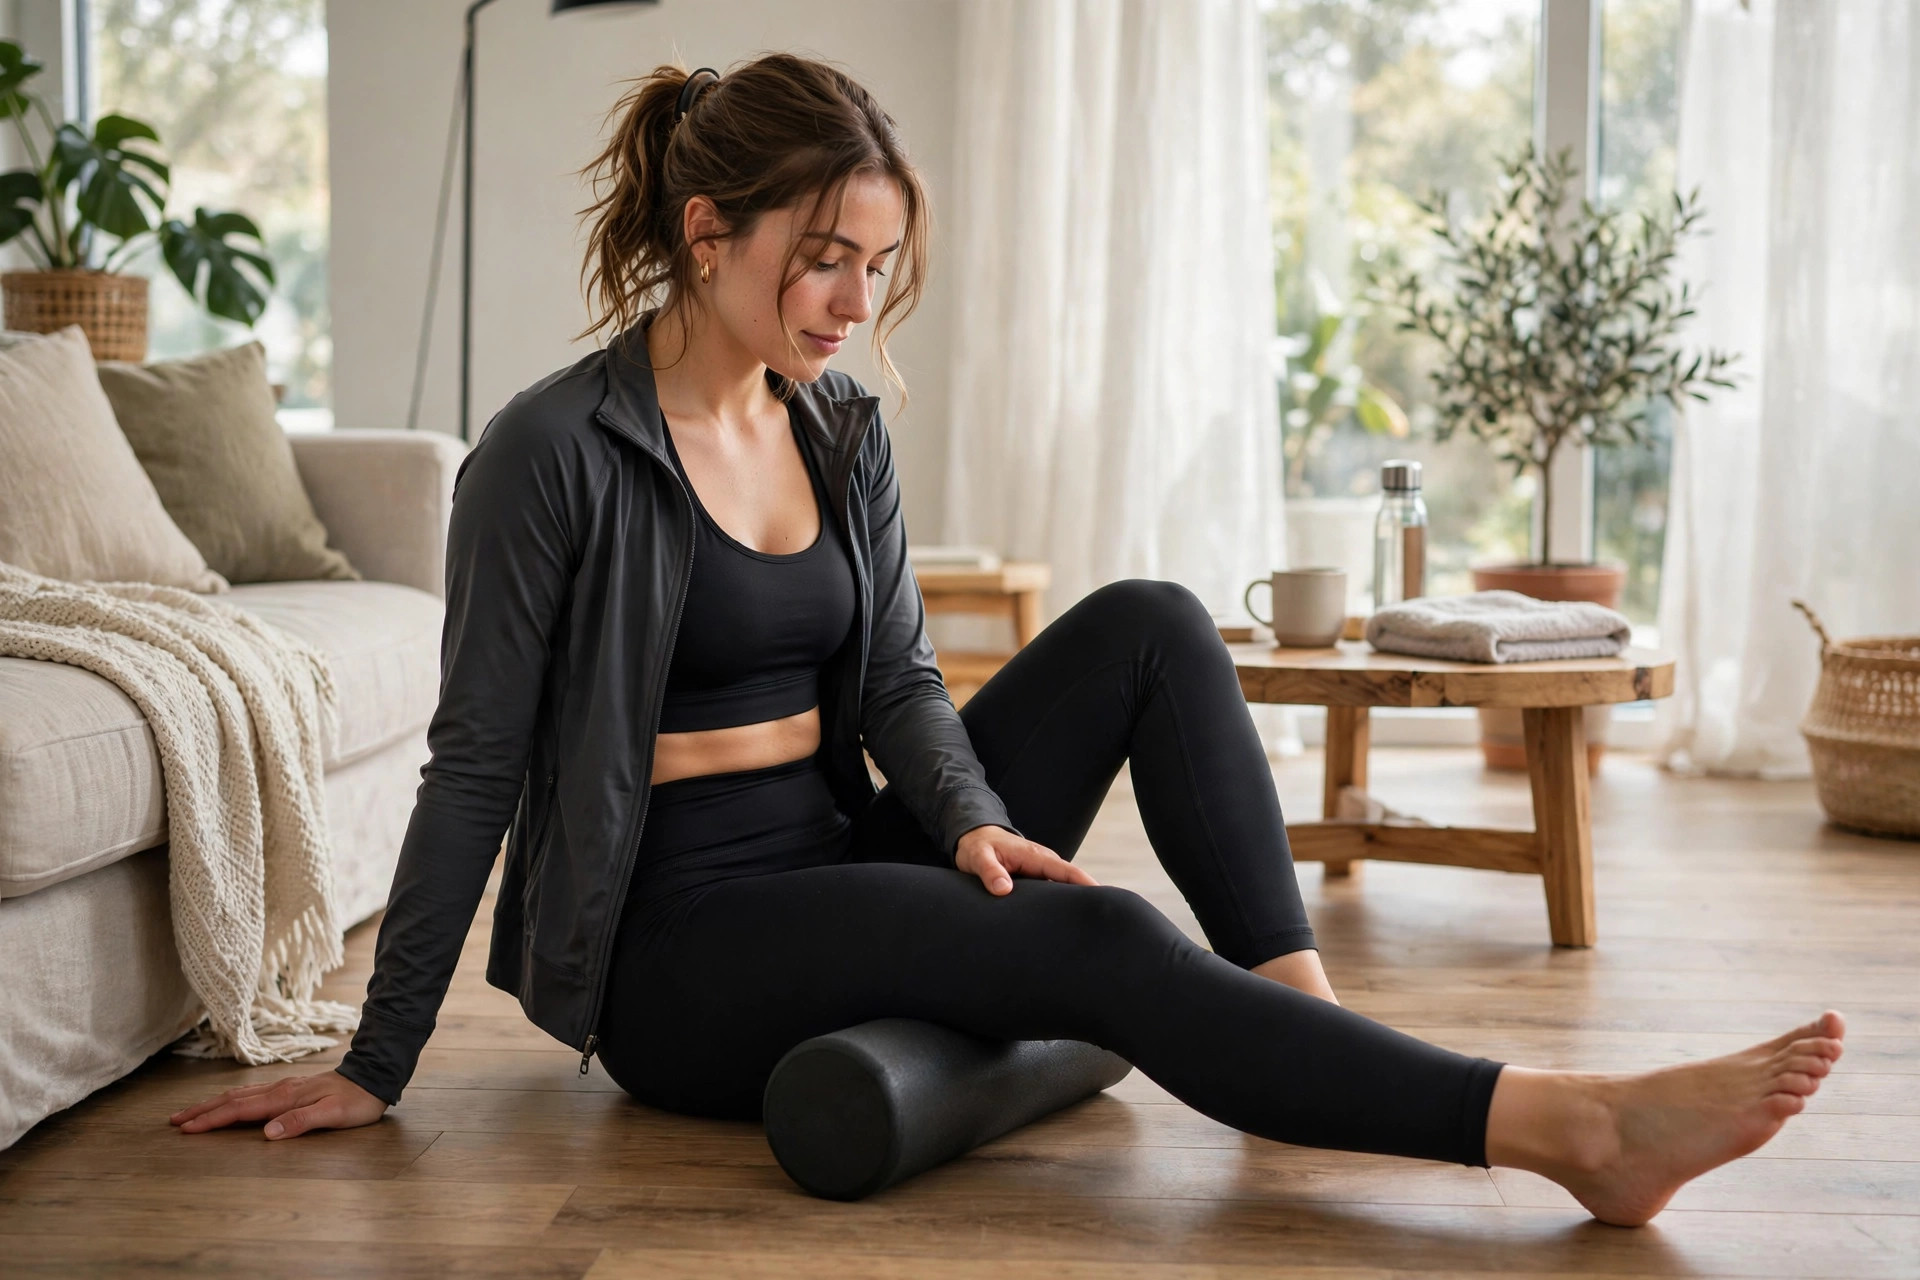

My first foam roller spent three months as a very expensive doorstop. I tried it once, wobbled around like a beached whale, felt ridiculous, and quit. Big mistake. Indeed, a proper foam rolling routine for beginners is one of the cheapest, highest-value recovery habits you can build. The problem is most beginners either skip it entirely or roll around randomly, feel nothing, and give up.
In other words, here’s a real routine that works: what to roll, how long to spend, and the mistakes that made me bail the first time. If you’re building a home setup for functional fitness, a roller is essential.
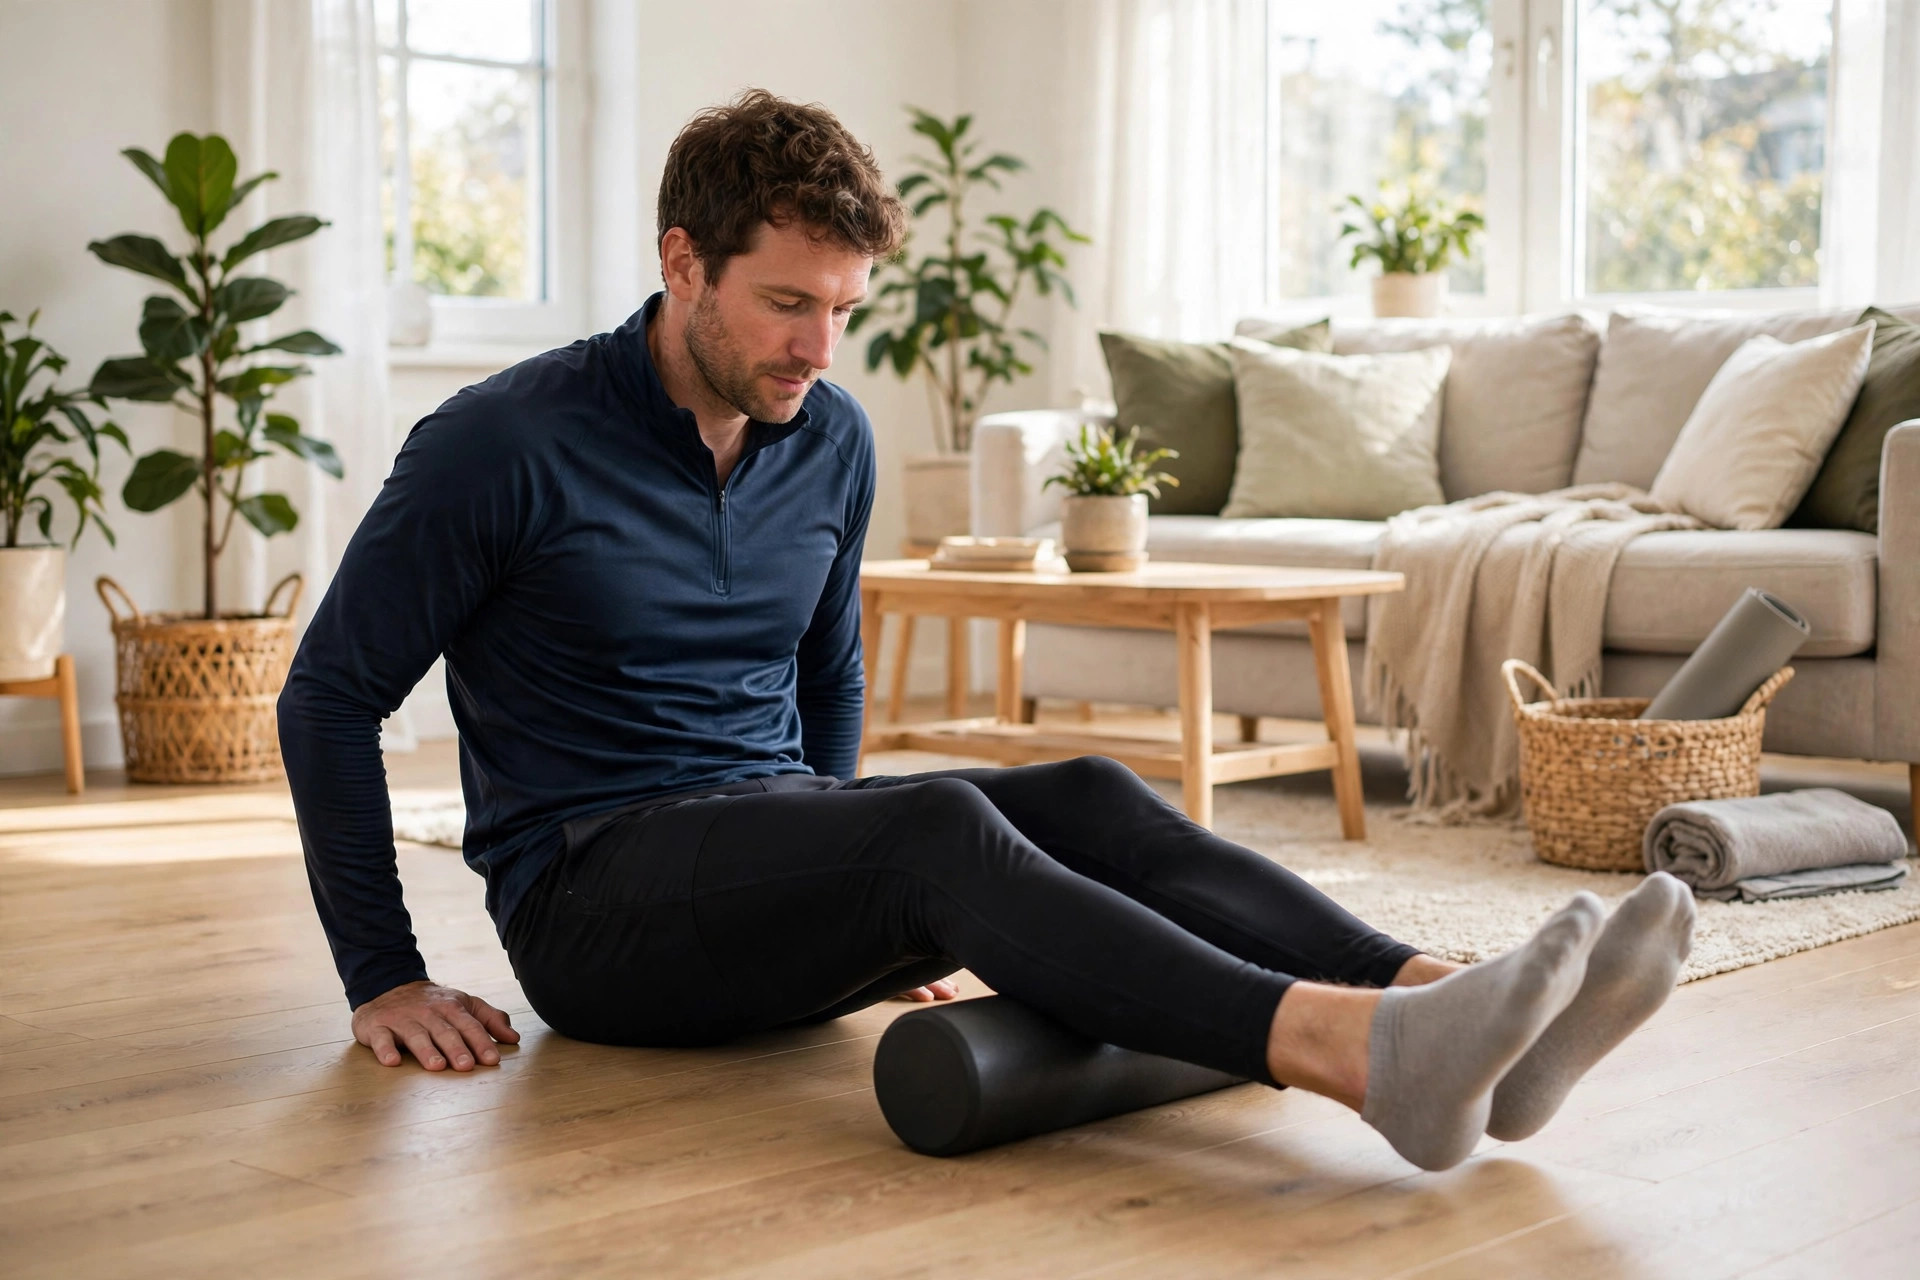
What Foam Rolling Does: Foam Rolling Routine for Beginners Basics
However, first, a myth to kill. Foam rolling does not “break up scar tissue.” That’s not how any of this works.
Fortunately, what it does: slow, sustained pressure temporarily increases blood flow, improves short-term range of motion, and reduces soreness, mostly through your nervous system. Your brain gets a stand-down signal and guarded muscles relax.
For example, the foam rolling benefits people notice most are simple: less next-day soreness, better mobility, muscles that feel looser. It won’t replace good training, sleep, or nutrition. But as a fifteen-minute habit, the return on effort is honestly remarkable. The American Council on Exercise’s foam rolling guide has detailed technique instructions.
Foam Rolling Routine for Beginners: How to Use a Foam Roller
To begin, go slow. About an inch per second, way slower than your instincts say. Speed-rolling does almost nothing.
Next, spend 60 to 90 seconds per muscle group. Shorter than that barely warms the tissue. I’ll be honest, I skipped this rule for months and wondered why nothing changed.
Then, pause on tender spots. When you find a knot, stop and hold pressure for 20 to 30 seconds while breathing deeply. This is where the magic happens. Strong ache, not agony.
Similarly, control the pressure. Use your arms and opposite leg to offload weight. Aim for strong-but-tolerable, a 7 out of 10.
Finally, stay off bones and joints. Roll muscle bellies, not knees, elbows, lower back, or neck.
In addition, start with a standard smooth, high-density roller.
The 15-Minute Foam Rolling Routine for Beginners
Work through these in sequence. After a few sessions, the whole thing takes about fifteen minutes.
Upper Back (2 minutes)
Lie with the roller across your upper back, knees bent, arms crossed over your chest. Roll slowly from below the shoulder blades to the bottom of the rib cage, never up onto the neck. Great day-one confidence builder.
Lats (1.5 minutes per side)
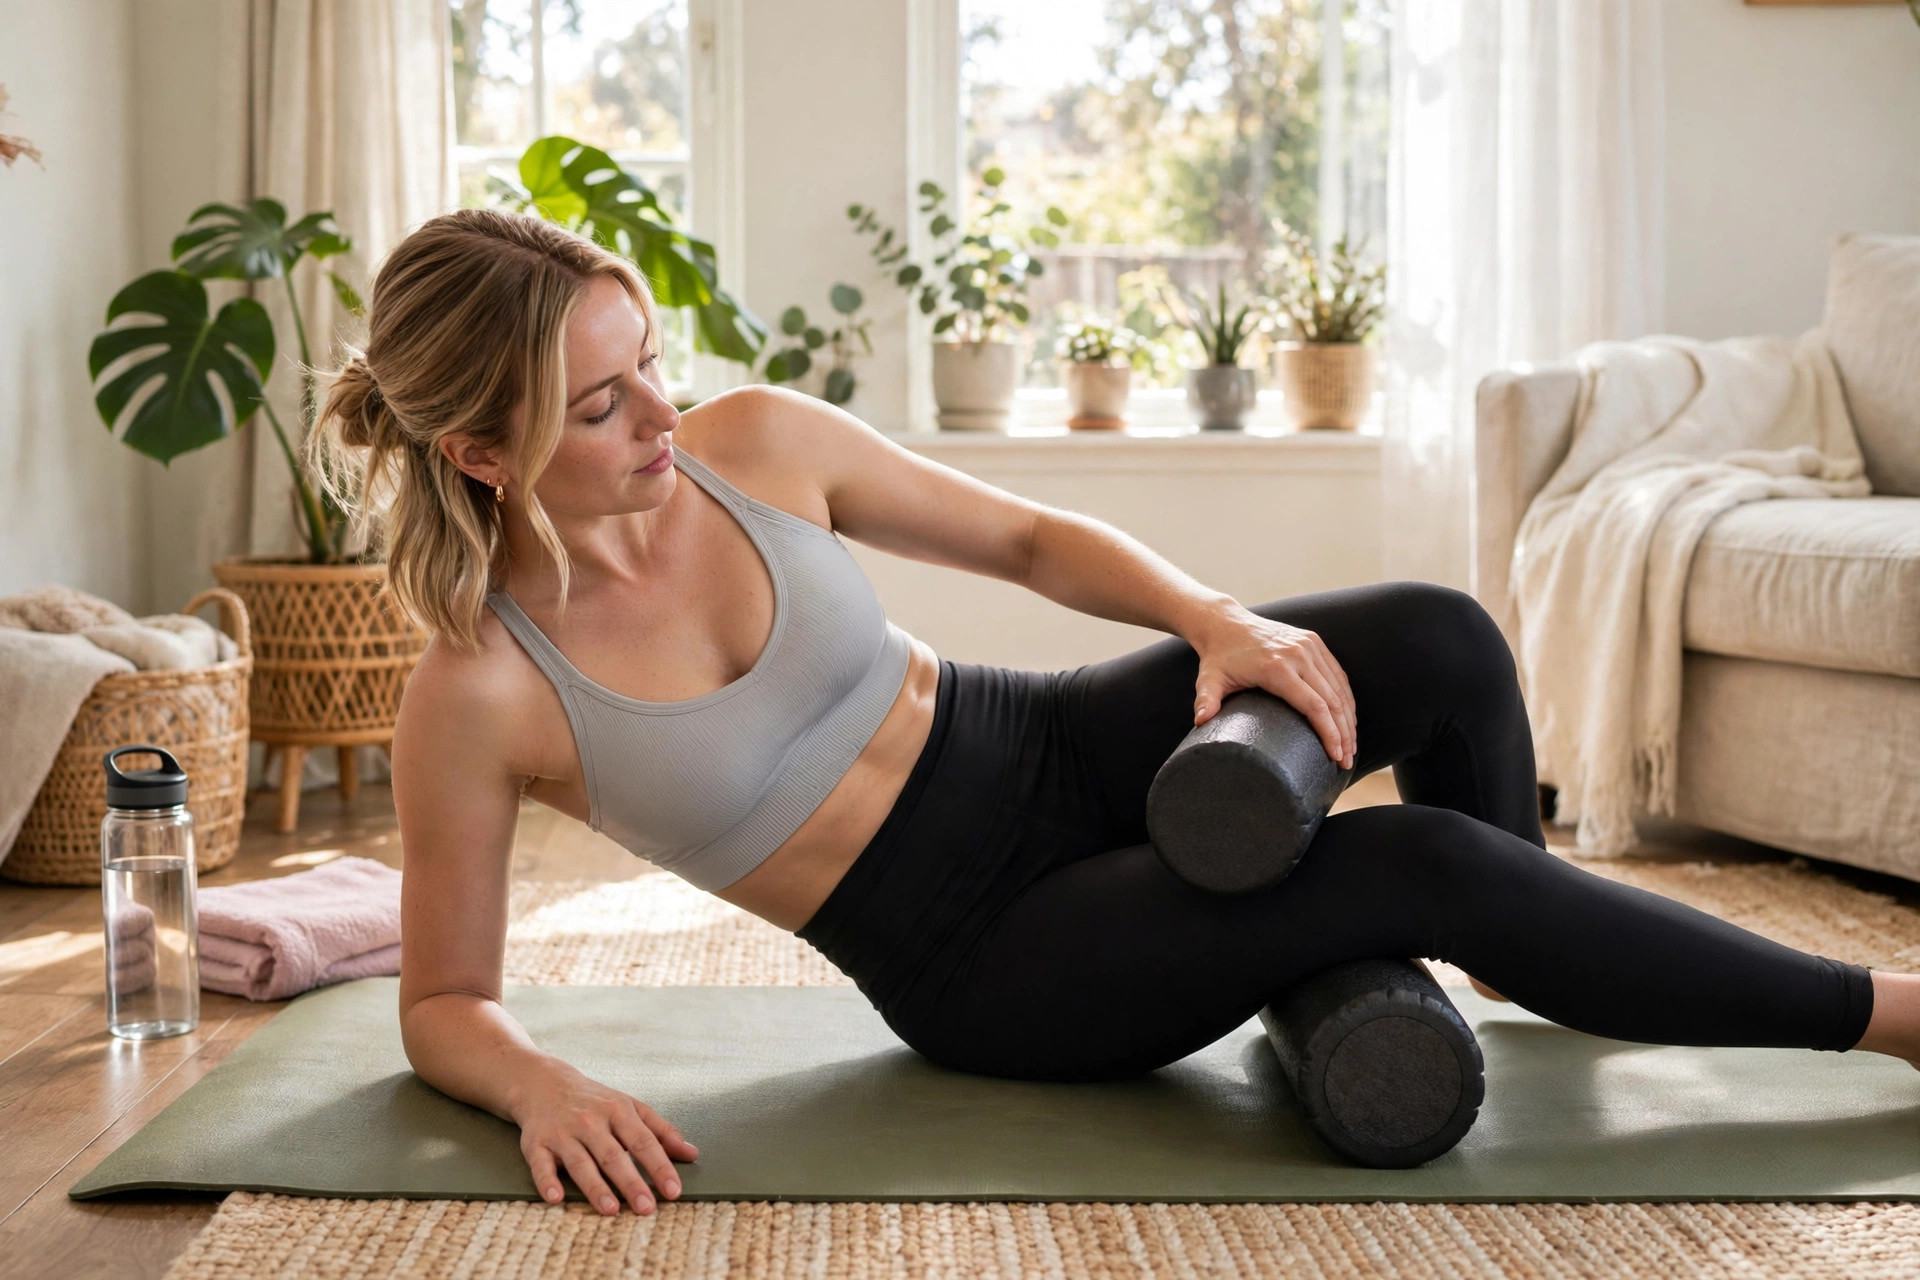
Lie on your side, roller just below your armpit, and roll toward the bottom of the rib cage.
Glutes (1.5 minutes per side)
Sit on the roller, cross one ankle over the opposite knee, lean toward that side, and roll slowly. Tight glutes sit behind a shocking number of back and knee complaints. Fair warning: spicy at first. Breathe.
Quads (2 minutes)
Face down, roller under your thighs, propped on your forearms. Roll from just above the knee to the hip crease, pausing on tender spots. My quads were “always fine.” They were a mess.
Hamstrings and Calves (3 minutes total)
Sit with the roller under your thighs and roll from above the knee toward the glutes, about 90 seconds. Then calves: roller under one calf, other foot on top, roll ankle to just below the knee, a minute per side.
When Should You Foam Roll? Foam Rolling Routine for Beginners Timing
In contrast, before workouts, five minutes of quicker, lighter rolling as part of your warm-up. It temporarily improves range of motion.
Specifically, after workouts or evenings, do the full slow routine. This is the self-massage for muscle soreness window, linked to less soreness in the 24 to 72 hours after training. For a complete post-training protocol, see our post-workout recovery routine.
Subsequently, daily rolling is fine. The one rule: it should never leave you feeling worse than when you started. Compare with ice bath vs cold shower for different recovery needs.
Foam Rolling Routine for Beginners: Mistakes Every Beginner Makes
I made all of these. All of them.
Ultimately, rolling too fast. The number one error, and it was absolutely mine. If your roller is flying, you’re getting a fraction of the benefit. Slow down.
As a result, dodging the painful spots. Beginners roll the comfortable muscles and avoid the nasty ones: glutes, quads, calves. Those are exactly where the payoff lives. Lean in gradually.
In fact, rolling through an actual injury. Foam rolling is for soreness and stiffness, not acute injuries or sharp pain. If something feels wrong, stop and get it checked. A foam roller is not a physio.
This article is for informational purposes only and is not medical advice. If you have a circulatory condition, are pregnant, or have an injury, check with a healthcare professional before foam rolling.
Foam Rolling Routine for Beginners FAQs
How often should beginners foam roll?
Typically, three to four times a week, ideally on training days. Once it’s a habit, many people go daily. Consistency beats frequency.
Should foam rolling hurt?
Certainly, strong pressure with mild discomfort, 7 out of 10 at most. Sharp or shooting pain means too much pressure or a bad spot. Back off.
Is it better before or after a workout?
Indeed, both help, differently. Before: lighter, faster rolling for short-term mobility. After: the slow routine for soreness and recovery. If you only have time for one, do it after.
Foam Rolling Routine for Beginners: Final Thoughts
A consistent foam rolling routine for beginners is one of the simplest recovery upgrades you can make. Fifteen minutes, no special skill, no appointment, just slow pressure on tired muscles. Start three or four times a week, go slow, breathe through the tender spots. I went from doorstop to daily habit.
This article is for informational purposes only and is not medical advice. Consult a healthcare professional before beginning any new recovery practice, especially with an injury or medical condition.